Technical Documentation
All-In-One (Windows)
Die All-In-One-Installation ermöglicht es Ihnen, Aparavi auf einem einzelnen Knoten zu installieren. Die Installation konfiguriert jeden der Knoten automatisch.
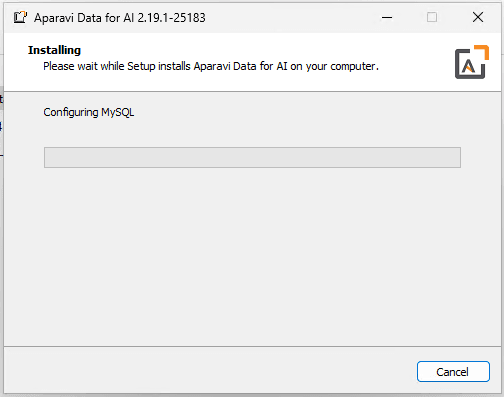
Die All-In-One-Installation ermöglicht es Ihnen, Aparavi auf einem einzelnen Knoten zu installieren. Die Installation konfiguriert jeden der Knoten automatisch. Zusätzlich installiert der All-In-One-Installer MySQL.
- Starten Sie die Installationsdatei.
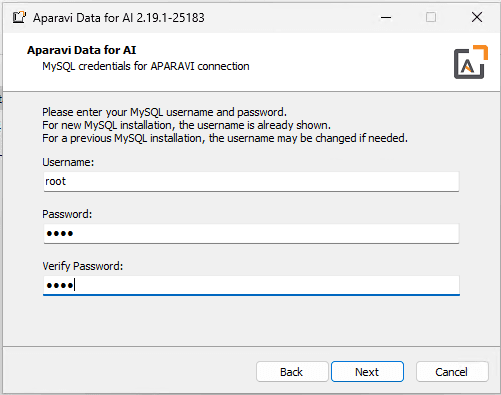
- Geben Sie ein Passwort für den Benutzer “Root” ein. Der All-In-One-Installer verwendet immer Root anstelle eines anderen Benutzernamens.
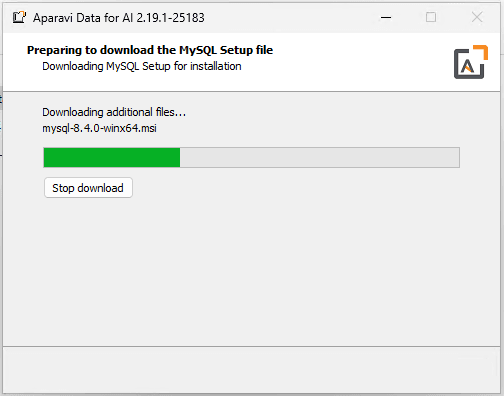
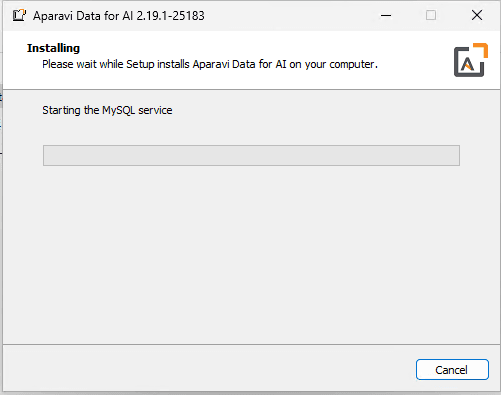
- Der Installer lädt dann MySQL herunter und konfiguriert es.
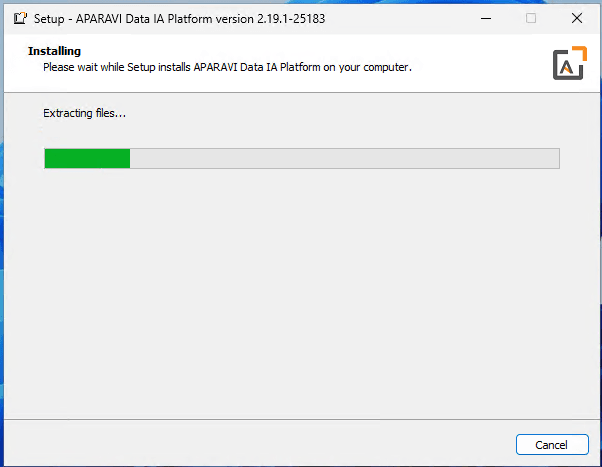
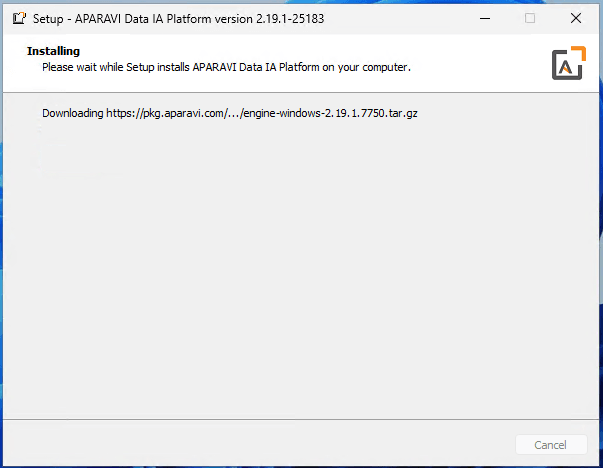
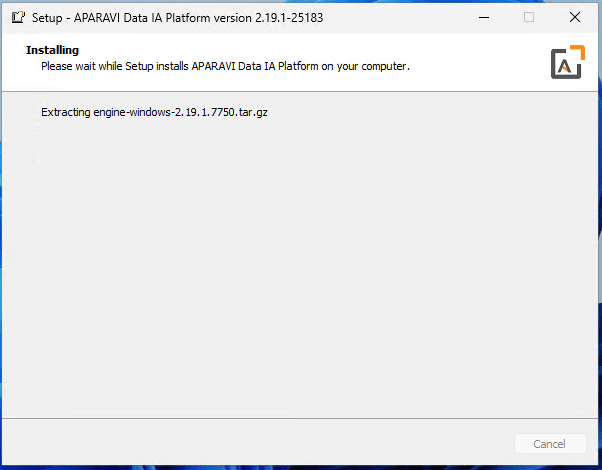
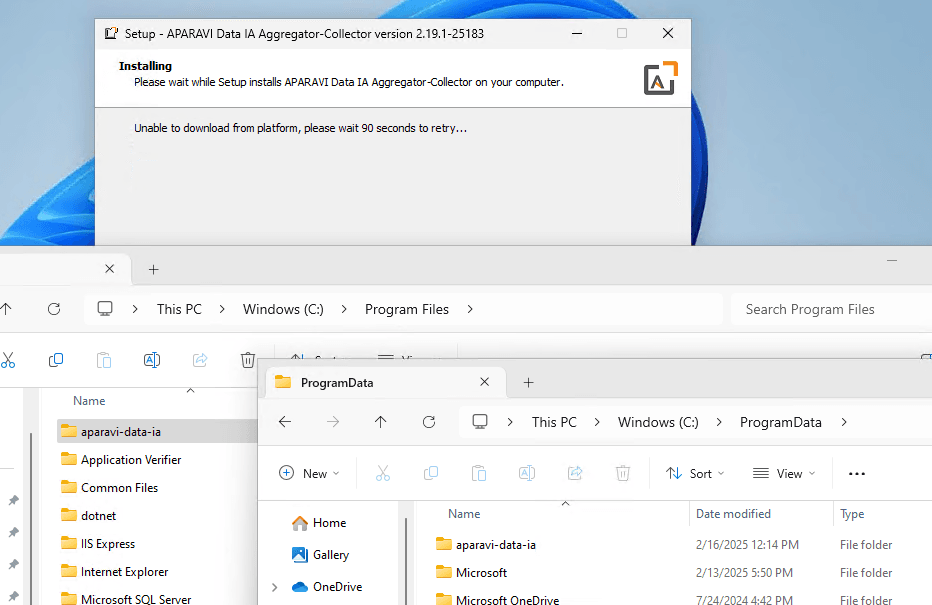
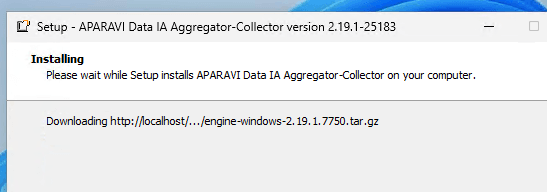
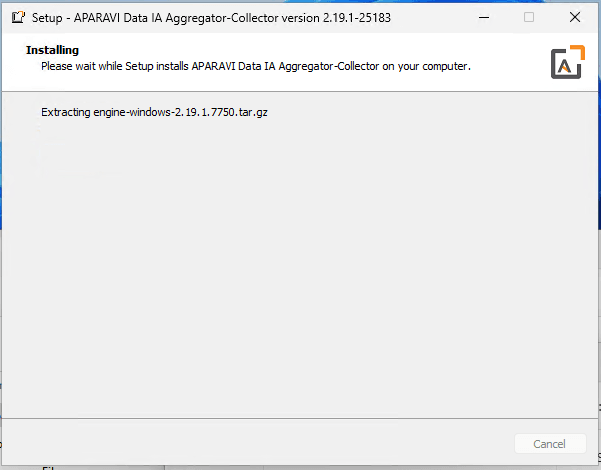
- Sobald MySQL installiert ist, beginnt der Installer mit der Installation von Aparavi. Der All-In-One-Installer scheint mehrmals zu laufen. Zuerst wird die Platform installiert, dann wird fortgefahren und der Aggregator-Collector installiert.
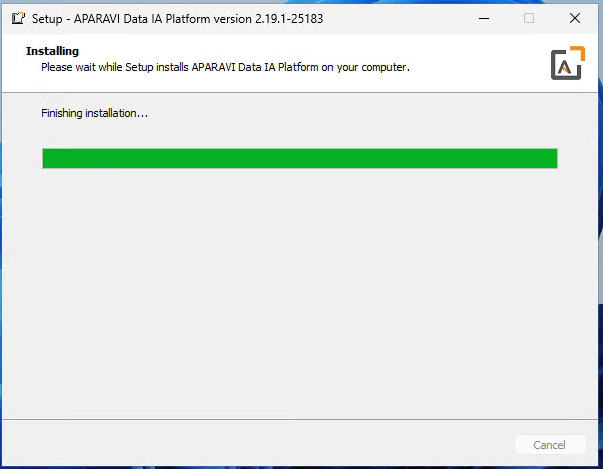
- Gelegentlich muss der Installer warten, bis die Dateien fertig kopiert sind. Sobald der PROGRAMDATA-Ordner befüllt ist, wird fortgefahren.
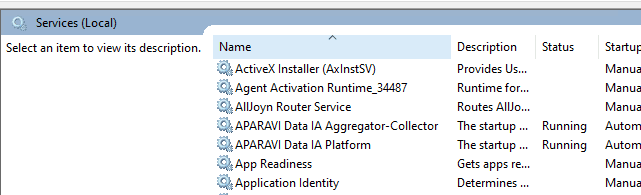
- Sobald die Installation abgeschlossen ist, bestätigen Sie, dass die Aparavi-Dienste ausgeführt werden.
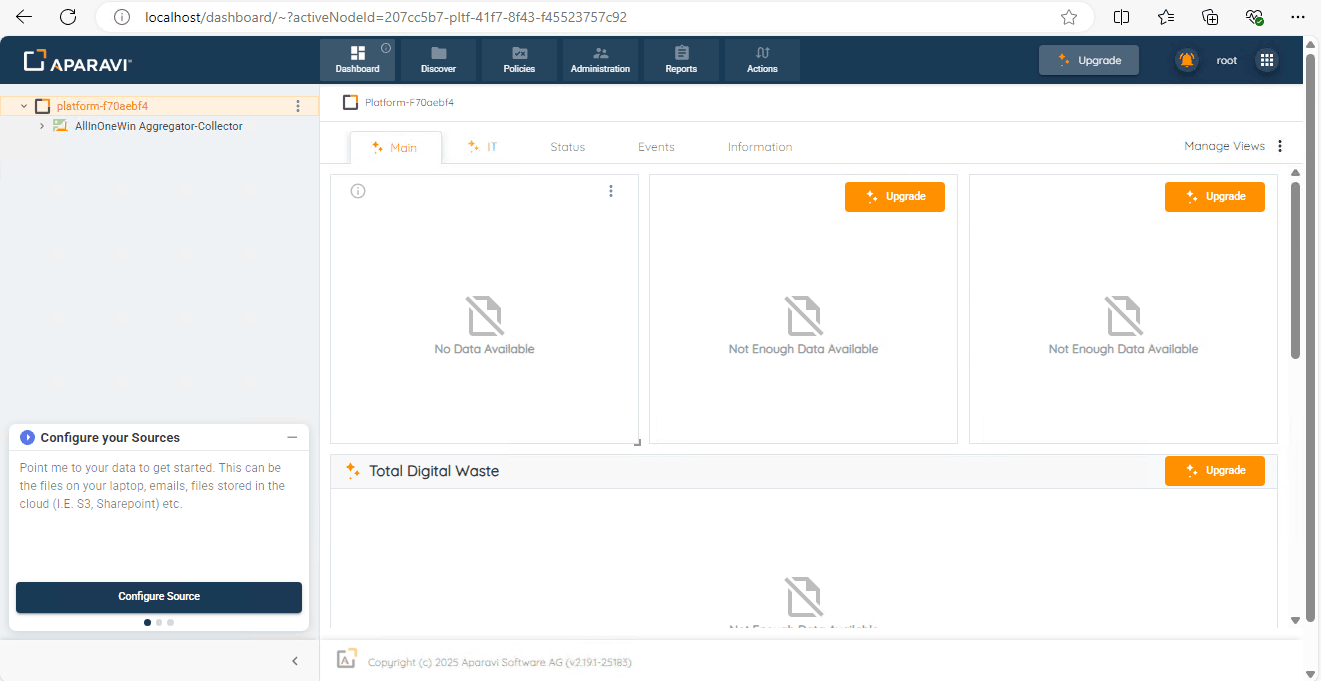
- Sobald die Dienste laufen, melden Sie sich bei Aparavi an. Sie müssen zunächst ein Aparavi-Konto erstellen.
- Sie können Aparavi nun konfigurieren.